LENÇÓIS MARANHENSES TREK: EVERYTHING YOU NEED TO KNOW
- Last Updated: 19 October 2026
- Brazil, Destinations, South America
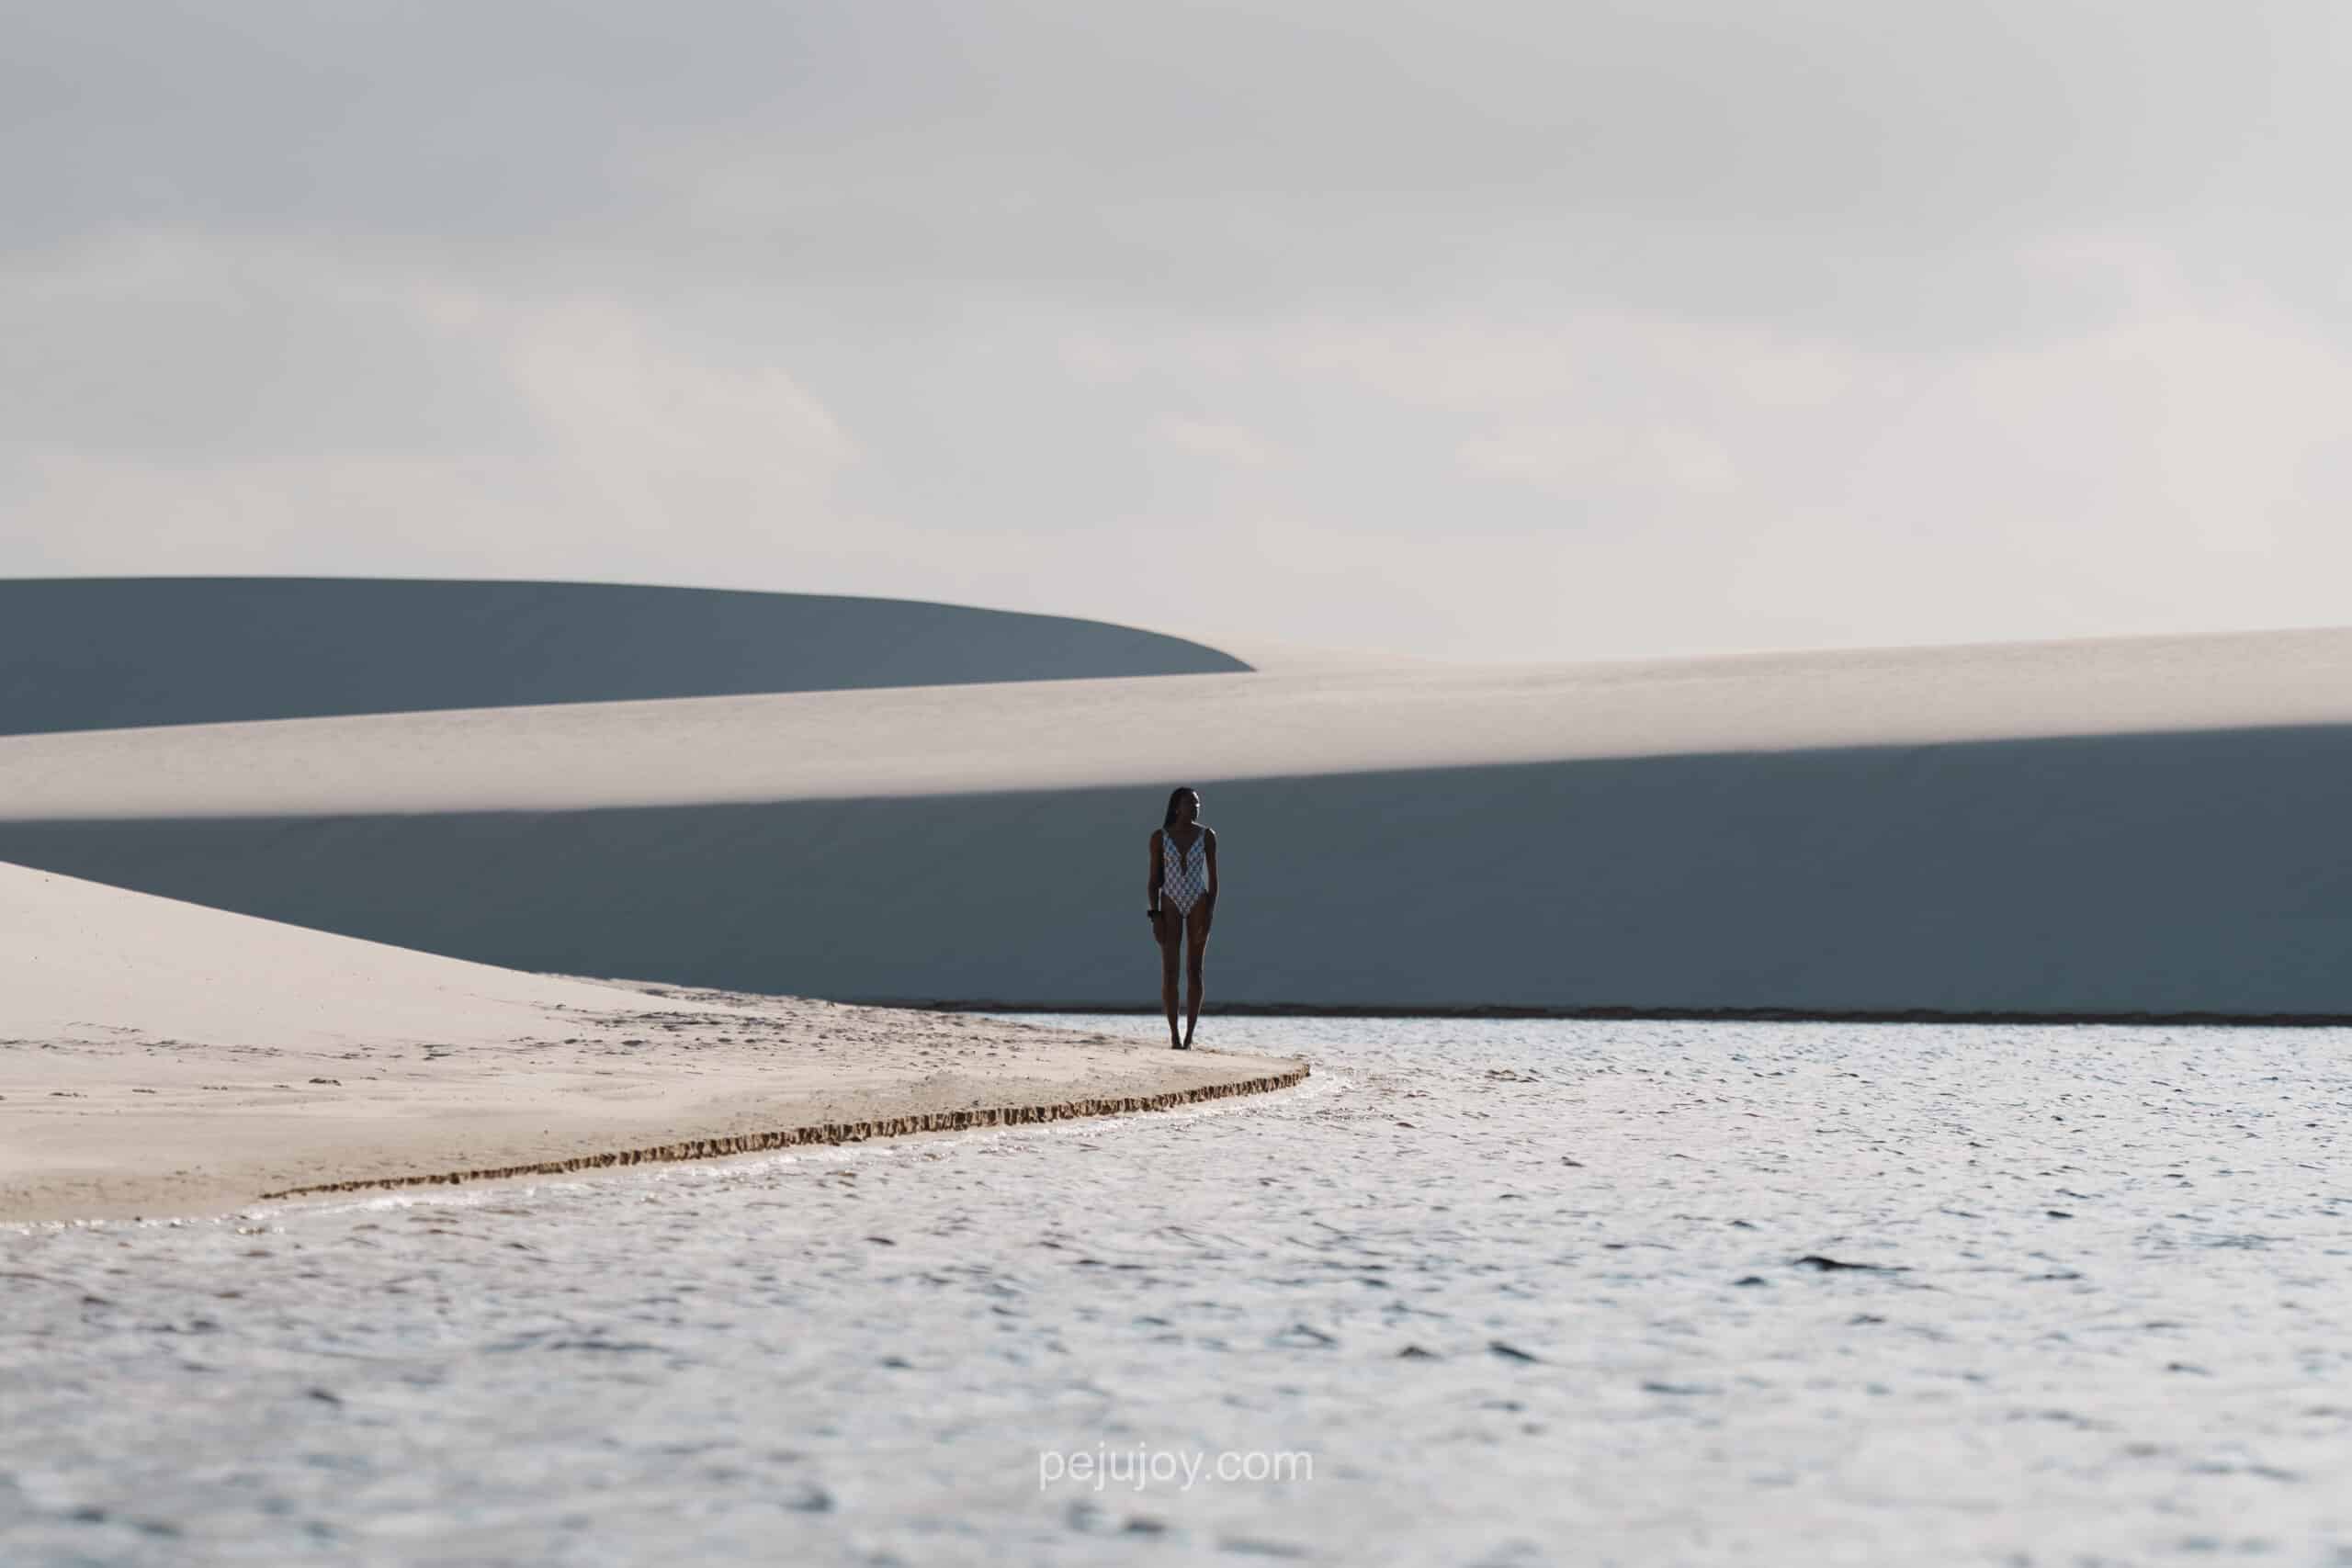
Brazil is a vast country with an incredible diversity of landscapes. When most people think of Brazil, they picture tropical beaches, lush rainforests, or colourful cities. But in the northeastern state of Maranhão, you’ll find one of Brazil’s most extraordinary natural wonders: Lençóis Maranhenses National Park. Imagine endless stretches of white sand dunes, dotted with thousand of turquoise and emerald freshwater lagoons.
There are several ways to explore Lençóis Maranhenses, from guide 4×4 excursions to scenic flights over the dunes. But for those looking for a more immersive experience, trekking across the national park is an incredible option.
I went on a three days and two nights trekking in Lençóis Maranhenses, crossing the park from east to west. It was one of the most extraordinary experiences of my life, and I would do it all over again without hesitation.
In this guide, I’ll share everything you need to know about trekking across Lençóis Maranhenses, including the different routes, how to prepare, practical tips, and my personal experience.
In This Guide:
WHAT IS THE LENÇÓIS MARANHENSES TREK?
A multi-day trek through Lençóis Maranhenses involves crossing the national park on foot, following routes that connect remote oasis communities. Depending on the itinerary, the journey can take several days, with overnight stays in local guesthouses along the way.
What makes this trek particularly special is the diversity of landscapes you encounter. Beyond the famous white dunes and freshwater lagoons, you’ll discover greener areas, vegetation-covered oases, and small communities surrounded by sand.
One of the things that surprised me most was how much the scenery changed throughout my three-day trek. Each day revealed a completely different side of Lençóis Maranhenses. I never felt like I was walking through the same landscape twice.
DO YOU NEED A GUIDE TO TREK LENÇÓIS MARANHENSES?
You can technically trek across Lençóis Maranhenses without a guide, as there are no regulations prohibiting independent crossings. However, with no marked trails or signage, navigating the vast dunes can be extremely challenging.
Unless you’re a highly experienced backcountry hiker, I strongly recommend hiring a local guide. On the final morning of my trek, we encountered another group that appeared to have lost its way. It was a reminder of just how difficult navigating this landscape can be.
Beyond safety, hiring a local guide also supports the communities living in and around the park. Local guides know the terrain, the routes between the oases, and the families who welcome trekkers overnight.
DIFFERENT WAYS TO CROSS LENÇÓIS MARANHENSES
There isn’t just one way to cross Lençóis Maranhenses. Depending on your time and your travel style, you have multiple options, and it is even possible to combine trekking with kayaking! Here are a few examples of how to cross the park in different ways:
- a 3-day trek
- a 4-day trek
- a 3-day trek plus 1 day of kayaking
- a kayaking-only crossing
- a 4-day trek with a 3-day kayaking extension
You can also discuss your plans with the tour operator and build a crossing that suits your needs. Trekking routes can cover around 40 to 50 km on foot, and a kayaking section adds approximately another 15 km.
I personally chose the 3-day, 2-night trek, so this guide is written from that perspective. It should still give you a good overview of what trekking in Lençóis Maranhenses is really like, from the landscapes and daily distances to the accommodation, the food and the practical logistics.
THE 3-DAY, 2-NIGHT LENÇÓIS MARANHENSES TREK, DAY BY DAY
Most trekking itineraries start in either Atins or Santo Amaro, with the crossing taking place in either direction. Both towns are popular gateways to Lençóis Maranhenses National Park.
For my 3-day, 2-night trek, I started in Atins and finished near Santo Amaro, crossing the park from east to west. This is the route that I am sharing in detail throughout this guide.
DAY 1 – ATINS TO BAIXA GRANDE OASIS
Day 1 starts with an early pick-up from your accommodation in Atins, around 7 am. Once your luggage is sorted (more on that in the luggage section below), a 4×4 takes you through the park to the starting point of the trek: Morro da Bandeira.
Walking begins at about 8:30 am. On the way to Baixa Grande, there are a few opportunities to stop and swim in the lagoons, and you arrive at the oasis at about 11 am.
The rest of the day is pretty free, so you can take it easy: have lunch, swim in the lagoon, rest, or walk around the oasis. It’s also a good moment to meet the other trekkers and guides, and to spend some time with your Brazilian hosts. As the day ends, head up the dunes close to the oasis to watch the sunset, then stay outside after dark. Far from everything, the oasis has excellent conditions for stargazing.
This first day is short and manageable, a gentle introduction before a much harder second day. Try to go to bed early, as Day 2 starts before sunrise.
Day 1 – Atins to Baixa Grande Oasis | Distance: 6 km. Difficulty: manageable. Walking time: approx. 8:30 am to 11 am.
DAY 2 – BAIXA GRANDE OASIS TO QUEIMADA DOS BRITOS OASIS
Day 2 starts at about 5:30 am, so the first part of the walk takes place at sunrise. The early morning gives you some of the most impressive views of the whole crossing. At that time, the landscape feels immense and extremely peaceful.
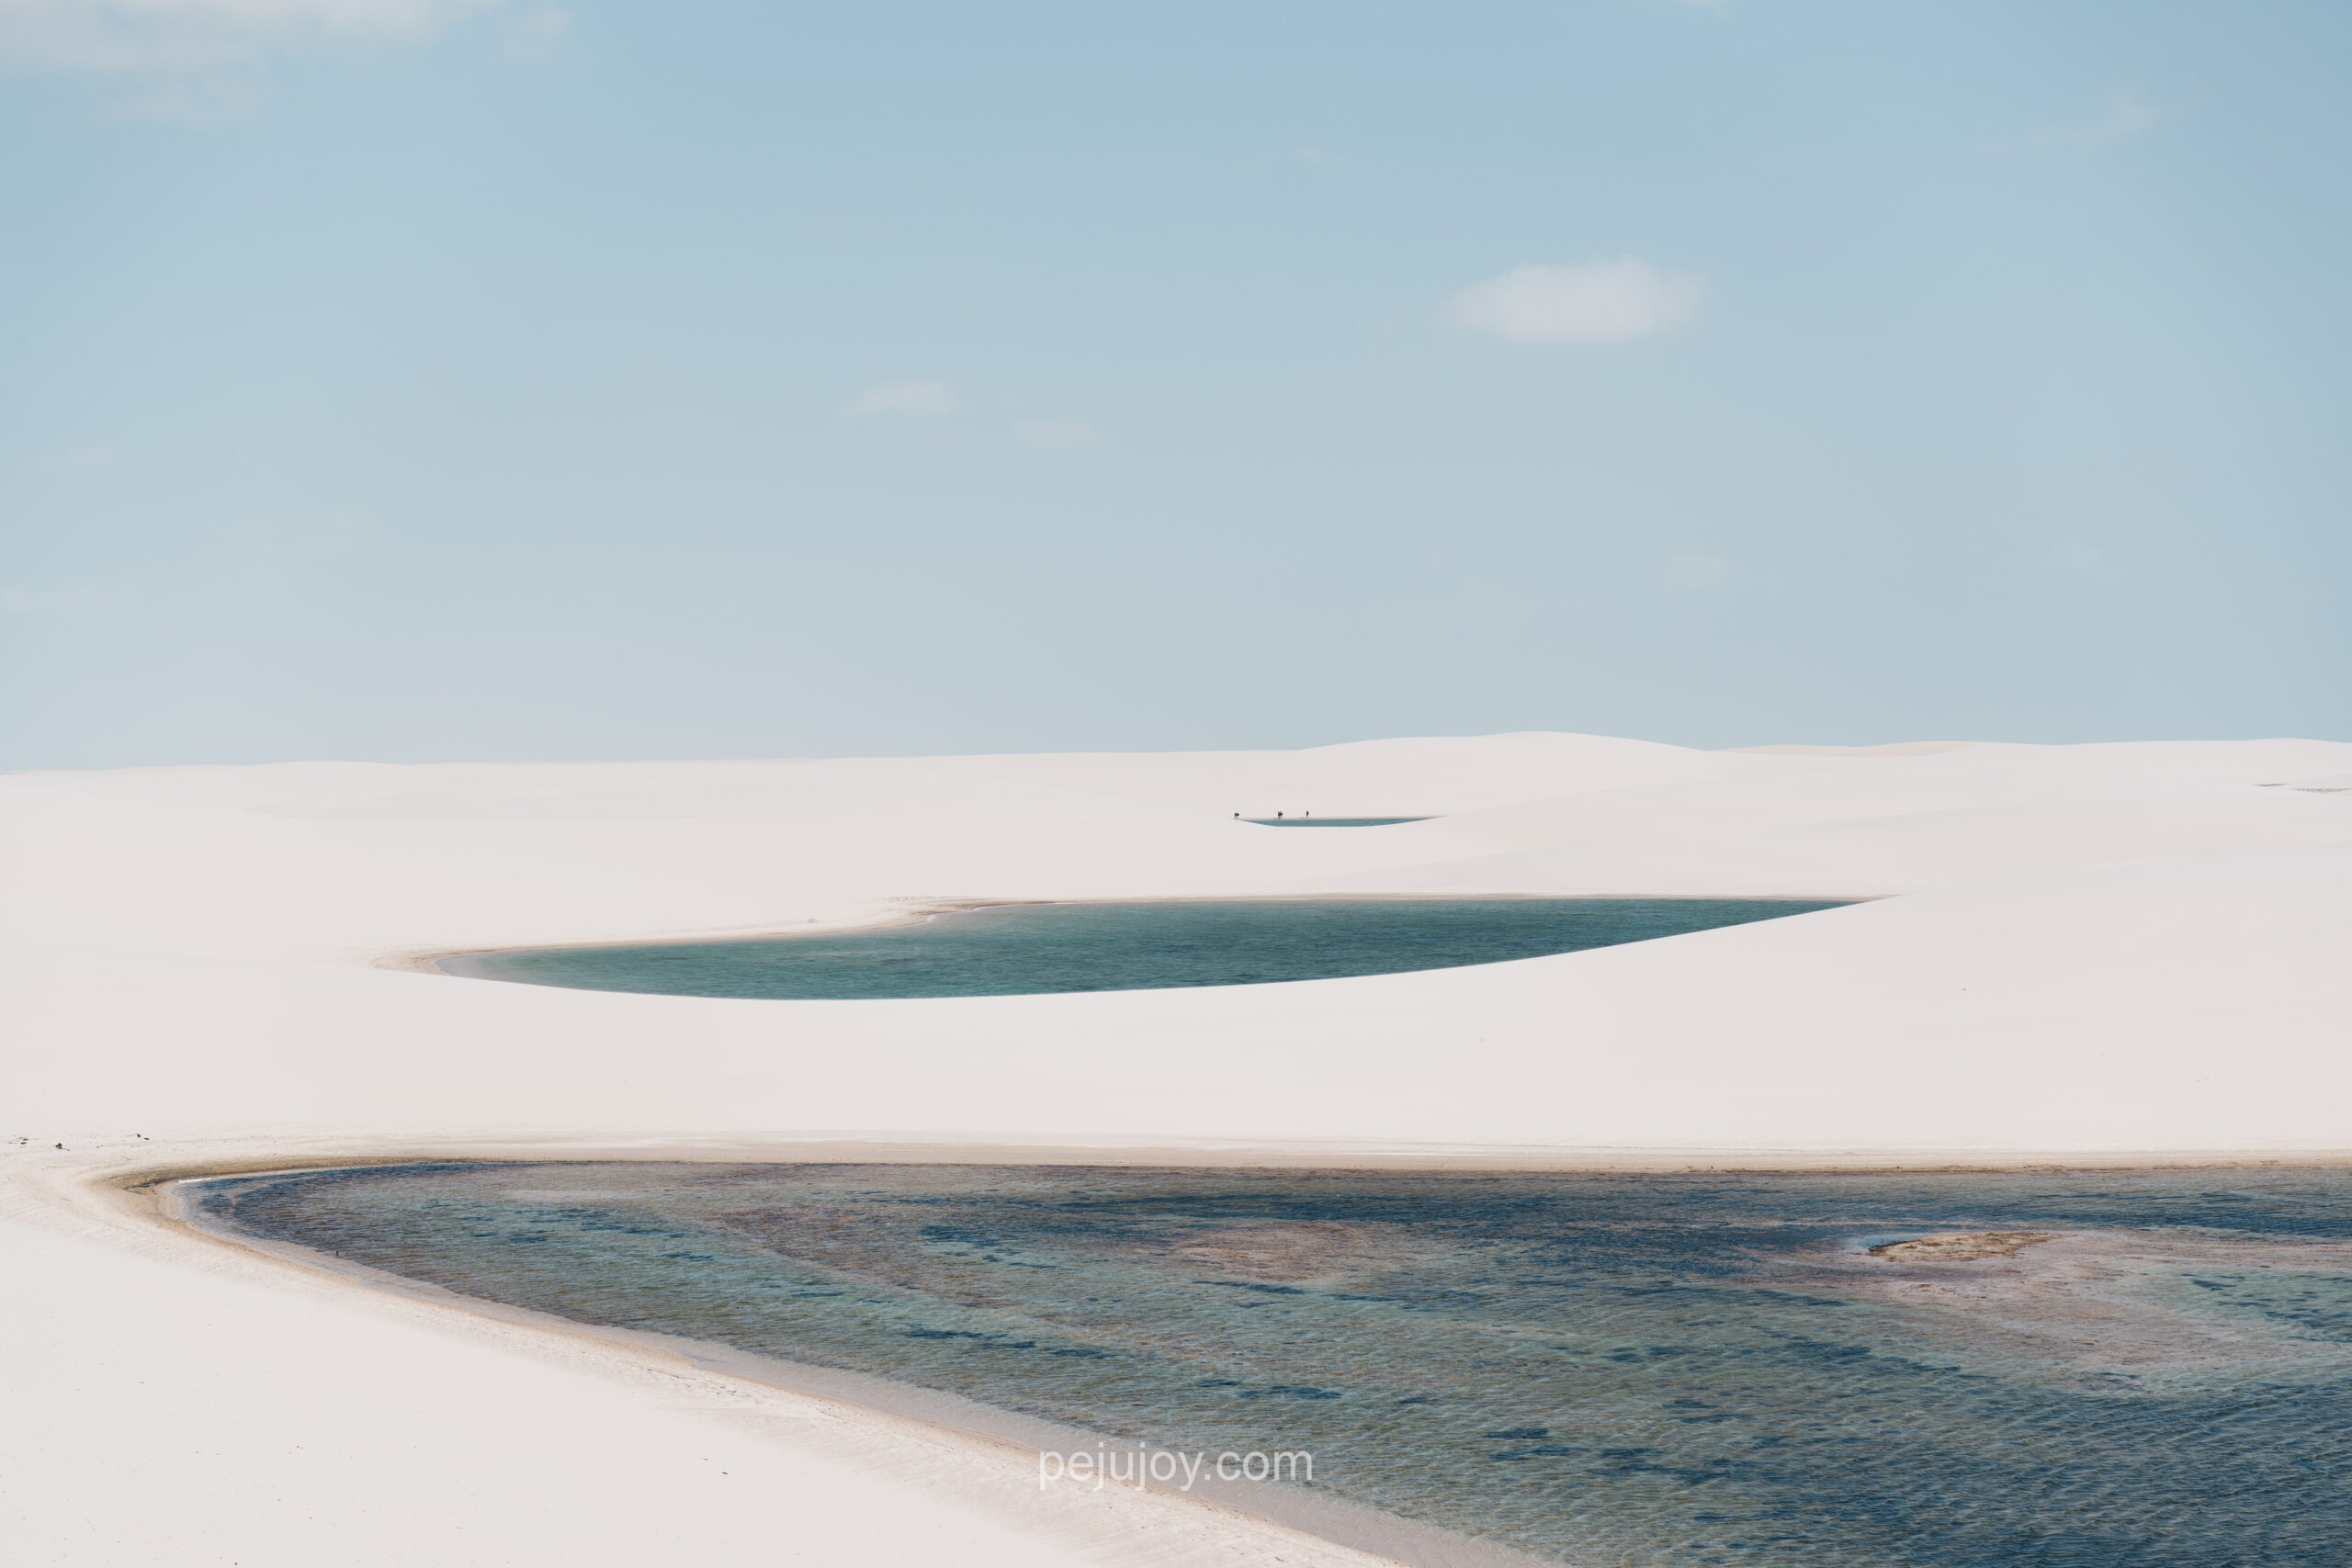
The scenery also changes a lot compared with Day 1: the lagoons get bigger and noticeably bluer, with wide views across the dunes, and the route crosses the Rio Negro several times on the way. It takes about five hours to reach Queimada dos Britos Oasis.
During this second day of trekking, the distance isn’t the only challenge. As the morning goes on, the heat gets much more intense, and by 10 am or so, walking can become extremely difficult (it was for me). Large sections of the route are completely exposed. Keep in mind that away from the oases, Lençóis Maranhenses feels like a desert, with almost no natural shade. There are some bushes, but they’re generally too small to protect you. The sand also gets extremely hot, which makes your choice of footwear very important. And keep in mind that you carry your backpack the whole way.
This was the hardest day of the trek for me. I genuinely questioned my life choices at certain points, because of the heat and the physical effort. At the same time, it was also the most spectacular day visually (the landscapes were incredible), and my favourite day for photography. The bigger lagoons, the changing landscapes and the endless views made it one of the most memorable parts of the crossing.
If you have the choice, you can ask your guide to start as early as possible, maybe even before sunrise, to avoid the worst of the heat. I’m not sure it’s the best idea, though: you would walk in the dark and miss a lot of the beauty of the park. It’s up to you and your guide.
Later in the day, you can head to a sunset viewpoint (the views are so beautiful!) and stargaze again after dark.
Day 2 – Baixa Grande Oasis to Queimada dos Britos Oasis | Distance: 14 km. Difficulty: very hard. Walking time: approx. 5 hours, from 5:30 am.
DAY 3 – QUEIMADA DOS BRITOS TO LAGOA DO JUNCO AND SANTO AMARO
Day 3 starts extremely early, at about 3 am. This way, you cover most of the distance before the heat of the day, so the first part of the route is walked entirely in the dark. It’s a completely different experience from the first two days.
In clear conditions, you can see the Milky Way overhead. It was magical and impressive, and maybe scary too, because you can’t see anything around you, so everything feels infinite.
What I loved about walking at night: parts of the route go along the lagoons. In complete darkness, you often can’t see the water, even when you’re walking right next to it. But you can hear it, and it feels so beautiful. At times, it even felt therapeutic. I just wanted to lie down next to one of the lagoons, in the dark. It was one of the most memorable moments of the whole trek.
As sunrise approaches, the landscape slowly appears again, and you reach Lagoa do Junco at about 8 am.
Even though Day 3 is the longest walk, starting this early makes it much easier to manage in terms of heat. You then have time to rest and enjoy the lagoon before leaving the park (we spent around an hour and a half there, just chilling).
The landscapes on this third day are absolutely breathtaking. We saw so many different shades of blue, from the lagoons to the sky, contrasting with the endless white dunes. But there were also completely different landscapes, with stretches of brown sand crossed by small streams of water. I loved how the scenery kept changing, revealing another side of Lençóis Maranhenses that you don’t necessarily expect to see.
The last section, from Lagoa do Junco to Santo Amaro, is done by 4×4, in approximately 20 minutes. It is not safe to walk this part, as there are a lot of 4x4s doing day trips from Santo Amaro.
Day 3 – Queimada dos Britos to Lagoa do Junco and Santo Amaro | Distance: 16 km on foot, then 20 minutes by 4×4. Difficulty: manageable. Walking time: from approx. 3 am to 8 am.
The trek ends in Santo Amaro. To plan your transfers before and after, check my Lençóis Maranhenses: The Complete Travel Guide, with everything about getting to the region, where to stay and the other things to do.
There's much more to Lençóis Maranhenses than trekking!
From swimming in incredible lagoons to exploring Atins and taking a scenic flight over the dunes, there's so much more to discover. Check out my Complete Lençóis Maranhenses Travel Guide for everything you need to plan the rest of your trip.
HOW MUCH DOES A LENÇÓIS MARANHENSES TREK COST?
The price obviously depends on the tour operator you will book the tour with. With the operator I booked with, the package price stays the same for 1, 2 or 3 people, so it’s much cheaper when you can share it. For groups of 4 or more, the price is per person, so check directly with your tour operator.
The package includes the accommodation pick-up / drop-off, the guide,the food at the oases (breakfast, snacks, lunch, dinner – however drinks aren’t included: you pay the local owners of the oases directly, in cash). For the overall budget of your stay in the region, including transfers and other activities, check my Lençóis Maranhenses: The Complete Travel Guide.
3-Day, 2-Night Trek Across Lençóis Maranhenses | Cost: R$4,309.50 for the package, which can be shared by up to 3 people – approx. $840 at the time of writing. For groups of 4 or more, R$1,972.50 per person – approx. $385. Included: guide, accommodation in the oases, breakfast, lunch and dinner, snacks, pick-up and drop-off. Note: drinks aren’t included.
HOW DIFFICULT IS THE LENÇÓIS MARANHENSES TREK?
The difficulty changes a lot from one day to the next, and with the time you start walking. Out of the three days, only one is really hard. Day 1 is manageable. Day 2 is much harder, as the distance, the sand and the intense heat all add up. Day 3 is longer, but as you start at 3 am, the temperature is much easier to handle for most of the walk.
What makes the trek physically demanding is the combination of several things. You walk long distances on sand, climbing up and down the dunes again and again. The sun is strong, the heat is intense, and there’s very little shade to take a break from it, while the sand itself gets hot during the day. You also carry your backpack the whole way (and your camera, if you bring one), several days in a row.
The nights don’t give you much time to recover either. You have to wake up very early every morning, so if you’re not someone who goes to bed early, expect short nights.
In my experience, the heat was one of the biggest factors, more than the distance itself.
WALKING ON SAND AND WHAT FOOTWEAR TO WEAR
So, shoes or no shoes? I believe the best way to do this trek is barefoot. The sand can be very soft and deep, so walking barefoot is perfect, and you also cross rivers (like the Rio Negro), mud, and so on.
However, at some point during the day, the sand gets really hot, and walking barefoot can become uncomfortable, or even impossible. In that case, having flip-flops was very useful. The same goes for the areas covered with small spiky bushes. But flip-flops aren’t practical for walking long distances across the dunes.
So my advice: walk barefoot and carry flip-flops. Another solution is water shoes, which you can keep on in the sand and in the water.
WHERE DO YOU SLEEP DURING THE TREK?
There are no hotels or lodges inside the park, so you sleep in the small communities of the oases. On this route, the first night is at Baixa Grande Oasis and the second at Queimada dos Britos Oasis.
Do not expect any luxury. The accommodation is pretty basic, and above all, it’s SHARED. This is something I honestly wasn’t expecting. When I did my research, I mostly looked at the itineraries, and the tour operators were talking about homestays. So I imagined having my own room in the small houses of local people… Well, no. They are large shared rooms filled with hammocks, so that all the trekkers can stay.
As someone who always books hotels and comfortable places, I was… not feeling very comfortable. The first night was fine, because there weren’t many travellers: my guide and I had a big room with lots of hammocks all to ourselves, while the other trekkers slept in other big rooms. The second night was rough for me, as there were a lot of us in the same rooms. You basically don’t have any privacy. So I was glad we started walking at 3 am, as we didn’t spend much time there!
The hammocks come with a sheet, and you can get extra ones if you’re cold. I don’t remember seeing any mosquito nets.
Keep in mind that you share everything with the other trekkers: bathrooms, showers, plugs… It was the most uncomfortable moment of my trip, because I really don’t like that, but we’re all different. And at least, it’s a good way to meet people!
At the oases, there is no or very poor phone signal, but there is basic wifi.
FOOD, WATER AND DRINKS AT THE OASES
Breakfast, lunch and dinner are served at the oases and included in the trek costs.
The meals are quite generous. Lunch and dinner usually come with rice, a choice of protein (fish, chicken and sometimes beef), lots of steamed vegetables and beans, then dessert, with fruit and sometimes cake.
Breakfast is just as filling, with eggs or an omelette, bread, fruit and jam, so you start the day’s walk well prepared. At the first oasis, I really liked that the fish was freshly caught and cooked right in front of us.
The oases also offer a small selection of drinks, including water, beer and soft drinks. Unlike meals, drinks are not included in the trek price and must be purchased separately from the local families running the oases. Payment is cash only, so make sure to bring enough cash and stock up on water for the next day’s walk.
Drinks at the Oases | Cost: R$10 for a large bottle of water – approx. $2 at the time of writing. R$20 for a large beer – approx. $4. Note: cash only.
WHAT HAPPENS TO YOUR LUGGAGE?
If your trip to Brazil includes places other than Lençóis, you’re probably travelling with some luggage. You don’t take all of it on the trek, of course. You pack only what you need in a backpack (see what to pack below), and your tour operator helps you store the rest of your luggage in Atins during the trek.
I always travel with suitcases, but for this trip to Brazil, I brought an extra backpack just for the trek. In my case, the 4×4 that picked me up on Day 1 took everything I didn’t need, including my laptop, to the tour operator’s office in Atins. At the end of the trek, they delivered it to my next accommodation in Atins. They made it very smooth, and my luggage was completely safe with them. As I said, I even left my laptop there!
Side note: I had decided to spend a few more days in Atins after the trek, which is why my luggage was delivered there. But you can also arrange for your luggage to be delivered to Santo Amaro or Barreirinhas, depending on where you’re heading next. Just make sure to discuss this with your tour operator beforehand.
WHAT TO PACK FOR A LENÇÓIS MARANHENSES TREK
You carry everything on your back for 3 days. Here is what I recommend for a multi-day crossing.
Clothes: short sleeves are fine, but if you are sensitive to the sun, consider UV long-sleeve tops. Also think about covering your legs. On the first day, it was very windy and I was wearing shorts: the sand blowing on my legs actually hurt a bit, and I wished I’d had something to cover them.
Sun protection: SPF 50 is a must! A cap and sunglasses are really important too.
Swimwear: I had 3 swimsuits, one per day. It’s practical when the one from the day before hasn’t had time to dry.
Water: buy it at the oasis, and make sure you have enough for the whole day. For Day 1, buy enough in Atins before leaving.
Backpack: I recommend a hiking backpack with a supportive hip belt, so the weight sits on your hips rather than on your shoulders and back. Also bring something to protect it. When you stop to swim or rest at the lagoons, your bag stays on the sand, and if it’s windy, the sand gets everywhere on it. A dry bag and a waterproof phone pouch are also useful.
Toiletries and towels: keep your toiletries to the bare minimum. Towels aren’t provided in the oases, so bring your own. I packed two quick-dry towels, one for each night, and they were so useful, as they dried much faster than regular towels between stops.
Power bank: much needed, as you share the plugs with the other trekkers at the oases. It’s good to have one as a backup.
Headlamp: it can be useful.
Footwear: flip-flops, for the hot sand and at the oases, and possibly water shoes.
Camera protection: much needed, especially on windy days!
For the nights: bring long-sleeve pyjamas and socks, as it can get cool at night. The rooms aren’t fully closed either: there’s a gap between the walls and the roof, so you can get cold. Also take a scarf to cover your neck. You can use it during the day to protect your face from the wind.
Mosquito repellent: I didn’t see many mosquitoes, but it’s always good to have.
CAMERA & PHOTOGRAPHY TIPS FOR THE TREK
A multi-day crossing is a great opportunity for photography, as you’re in the park outside the usual day-trip hours. But the conditions aren’t easy on your equipment, so it’s worth planning your gear before you leave.
WHICH LENSES TO BRING
I did the trek with a 24-70 mm and a 70-200 mm. I loved shooting with the 70-200 mm and never felt the zoom was too much. However, I wish I’d had a wider lens, maybe a 12 or 16 mm. So if you can, I recommend adding a wide-angle lens to your kit.
Keep in mind that every lens adds weight to a backpack you carry for 3 days. Choose your kit carefully rather than taking everything.
PROTECT YOUR CAMERA FROM THE SAND
Sand gets everywhere on this trek, especially on windy days, so your camera equipment needs proper protection. Keep it protected whenever you’re not shooting, and remember that your backpack ends up on the sand every time you stop at a lagoon.
During the trek, my backpack carried everything I needed for the three days. I also had a small fabric tote bag where I kept my camera when I wasn’t shooting. I wasn’t keen on carrying it around my neck or on my shoulder while walking. First, it gets very heavy after 5 hours of walking! Second, I was scared of getting sand inside.

Avoid changing lenses in the wind and the sand. It requires a lot of care, or better, just don’t do it. What worked for me: choose one lens for the day before leaving the oasis, keep the other one in your bag, and only change lenses once you arrive at the next oasis.
PLAN FOR A SLOWER PACE
Stopping often for photos slows down your walking pace, and on the hottest day, every extra hour in the sun counts. I did the trek solo (with my guide), which suited me well, as I could walk at my own pace and take as many photos as I wanted.
WHEN TO SHOOT
Sunrise and sunset give you excellent light, and on a trek, you get both without booking any special tour. Day 2 starts at sunrise, with some of the most impressive views of the whole crossing, and there are sunset viewpoints on the dunes close to the oases. The landscapes also change a lot along the way, so you won’t come back with three days of identical photos.
Day 2 was my favourite day for photography, with bigger and bluer lagoons and endless views.
If you like shooting the Milky Way, Lençóis Maranhenses is the best place to do it! But without a tripod (I doubt you want to carry an extra 1–2 kg!), it can be tricky, and you’ll have to be creative to keep your camera steady for long exposures.
BEST TIME TO TREK LENÇÓIS MARANHENSES
The lagoons of Lençóis are filled by the rainy season, then slowly shrink during the drier months. So the trekking experience changes depending on the rainfall and the time of year.
I did this trek at the end of August. At that time, some lagoons had already dried out, but many were still full and beautiful. All the photos in this article were taken during the trek, so they give you a realistic idea of the conditions at the end of August.
For more details on the seasons and lagoon levels, check my Lençóis Maranhenses: The Complete Travel Guide.
THINGS TO KNOW BEFORE YOU GO
A quick checklist before you book:
- The sun and the heat are intense, with very little shade: protect yourself and drink enough water to avoid dehydration.
- The sand gets very hot during the day, so keep your flip-flops close.
- The terrain is remote and there are no marked trails: always follow your guide.
- There’s no phone signal in the oases, only basic wifi.
- Bring cash for your drinks.
- Expect some fatigue, with several days of walking in a row and very early starts.
- Protect your electronics and your camera from the sand and the water.
IS TREKKING LENÇÓIS MARANHENSES WORTH IT?
For me, absolutely yes! Walking for days through the dunes, with literally no one around, was incredible.
A multi-day crossing shows you a very different side of Lençóis Maranhenses from the classic lagoon excursions. The park is often reduced to white dunes and turquoise lagoons, but walking across it reveals much more: greener landscapes, oases, rivers, local communities and very different scenery from one day to the next. You also get to see the park at sunrise, at sunset and after dark.
This type of experience won’t suit everyone. If you do not like long walks, intense heat or basic accommodation, shorter excursions may be a better fit. But if you’re looking for a more active and immersive way to discover Lençóis Maranhenses, I strongly recommend the trek.
I’ll also go through the three bases of the park in a dedicated article, Where to Stay in Lençóis Maranhenses: Barreirinhas vs Atins vs Santo Amaro.
DID YOU LIKE THIS ARTICLE?
Don’t hesitate to share it ♥ Thank you ✨
Or leave a comment!
Whether you have questions about visiting Lençóis Maranhenses, or you’d like to share your own experience, I’d be happy to chat with you ✨
WANT TO FIND THIS ARTICLE EASILY?
Save it on Pinterest!
EXPLORE MORE
Related articles you might like & find interesting